Back by popular demand from our customers, after our successful “How to Strap” series, SportStrap is proud to announce…
The SportStrap “How to Kinesiology Tape” video training series.
Yes thats right… We have just produced 18 awesome videos, covering 16 different kinesiology tape injury applications, from “corked thigh“, “shoulder pain”, “ankle sprains”, through to “shin splints” and much more… all with in-depth video instructions.
Corked Thigh Injury
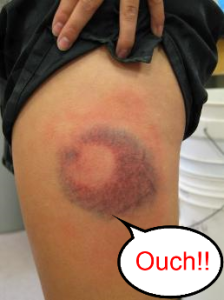 Today, we will focus on how you can assist the healing of a Corked Thigh with Doctor K kinesiology tape.
Typically a corked thigh is a very common injury in contact sports. Usually involving a solid impact to the quadricep/thigh muscle, via a stray “knee” to the muscle during a tackle or something similar.
This type of solid impact, causes significant bleeding to the muscle, and femur in severe cases.
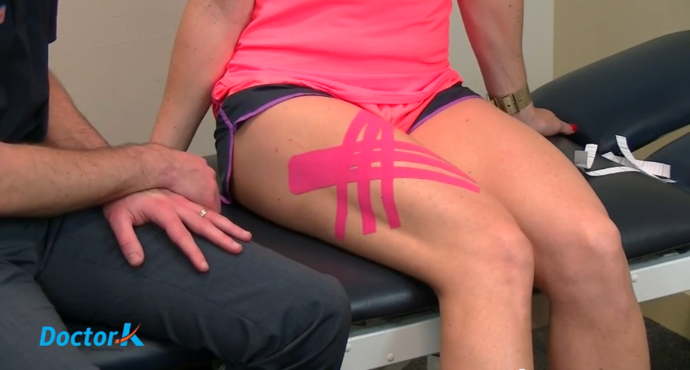
I would like to share video #1 in the Doctor K series, where experienced physiotherapist and kinesiology taping expert Adam Collyer, from MCPhysio, demonstrates an excellent corked thigh treatment with Kinesiology Tape that assists healing by in removing swelling and fluid.
Great technique to Kinesiology Tape a Corked Thigh
So… what are the symptoms of a corked thigh?
Corked Thigh symptoms are normally quite obvious, and include:
- Localized pain at the site of the quadricep muscle impact
- Swelling and thigh bruising in the impact area
- Reduced power and reduced range of movement
Corked Thigh Treatment
As with all injuries of this nature, it is recommended that you seek professional care to get a proper assessment, but generally speaking a corked thigh treatment normally consists of the following:
First 48 hrs:
- Rest, Ice, Compression, Elevation (minimize & stop the internal bleeding, swelling and bruising).
After first 48 hrs:
- Kinesiology Taping
- Massage
- Heat
- Anti-Inflammatory Medication (ibuprofen)
- Light stretching and Progressive Injury Exercise
- Electrotherapy
What items do you need to Kinesiology Tape a Corked Thigh?
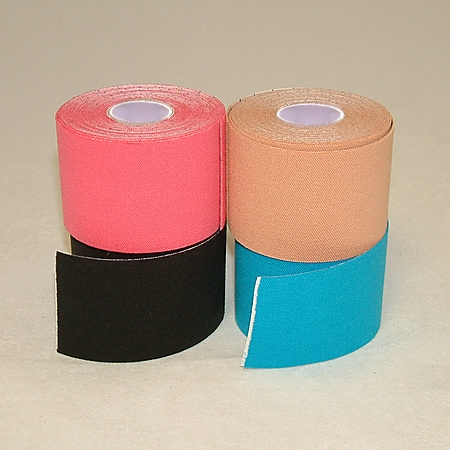
To get your Kinesiology Taping application off to a great start you are going to need the following items:
|
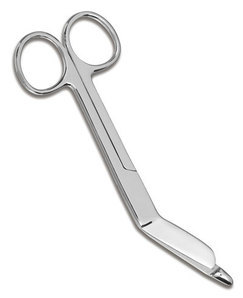
Lister Scissors (Optional) |
Alternative items you may wish to use:
What preparation is required to Tape a Corked Quad correctly?
When applying any kinesiology tape, it is important that you prepare the skin and tape ready for the application, to get the best adhesion.
Here are a few tips:
- Measure and Pre-cut the tape to the correct length
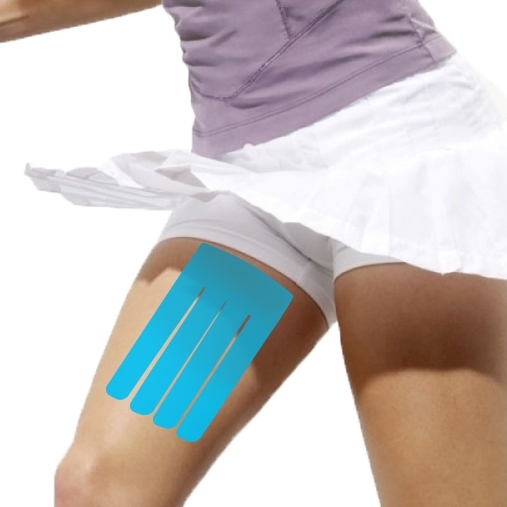
- Cut tape length ways, approximately 80% of the length of the tape, creating 3 leg strips (as shown in video)
- Pre-tear tape backing to create an attachment tab
- Fold and peal backing, and fold a tab ready for peeling
- Ensure the skin is clean, and free of moisturizer, lotions, excessive sweat or oils
- Remove excessive hair, if any.
Here are a few tips for after application:
- Be careful when dressing or undressing that clothing doesn’t catch and roll up the application
- After showering, pat dry the application with a towel instead of rubbing
- Covering the application with Tubular bandage can assist in protecting the application in high wear conditions
What is the Correct Tape Tension?
During this kinesiology tape application it is important to apply the tape with the correct tension.
Here are our tips to a better application:
- The tail of the tape, and strip ends of the tape, is to be applied with no tension
- The mid section of the strip ends is to be applied with 25% tension in a slight fan shape
- Ensure you fan the strips slightly
Did this Article Help?
In Australia, and for that matter world wide, Kinesiology Taping is a fast growing injury treatment technique, assisting athletes with faster injury recovery, back to peak performance.
It is our aim to bring to our customers the most up-to-date sport medical techniques.
I would love to know if this article and video helped, and please let me know what other sports medical topics you would like us to cover in the future.
Have a most outstanding day,
Cade Arnel
SportStrap.com.au ©2014

